What We Did
We took 10 seconds of a song that had a good repetitive beat, and used it to drive a realistic simulation of an ocean surface. We wanted it to behave naturally, whilst subtly carrying the rhythm of the music. We used MASH to create float (no pun intended) values, that were used through a series of MEL scripts to drive the behavior of the Boss Spectral Wave generators. The result was fairly quick to run, and creates 3 sets of displacement maps. These displace a high-poly plane, resulting in the ocean surface. At no point is the water a particle simulation, meaning that the result is limited to a surface, without any particle or foam reaction on the surface.
MASH Network and Audio
We started off by getting hold of the stems for the track so that we could separate out the drums, bass, and piano from the rest of the music. Using MASH, we created MASH_Audio nodes for each stem and multiplied the Eq Output through into a clamp node, before piping all of this into the Y scale of cubes. The cube part isn’t too important, it just gives a good way to visualise the effect the music is having.
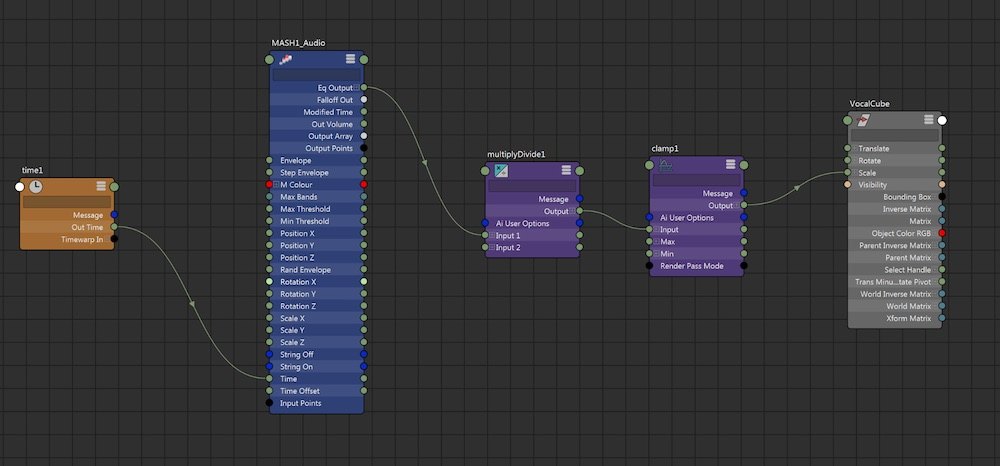
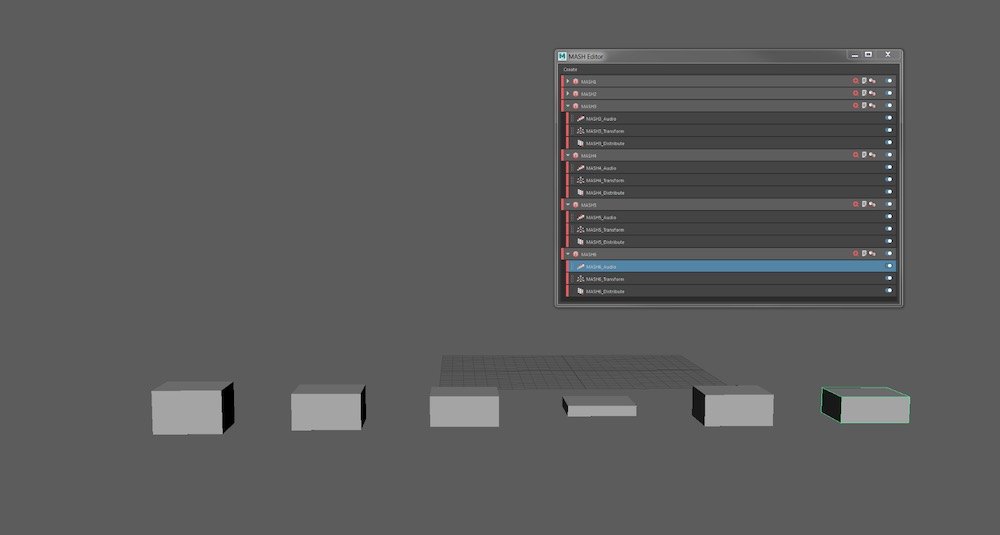
The result created a lot of sudden movement and causes very jerky reactions to the audio. Using Max Bands, Smoothing and changing the Filtering helped a lot. The important bit here is just to get the cubes dancing to the music, without sudden spikes or too little reaction to the audio. Some of the movement was still sudden, like the drums, but this is unavoidable, and we fixed this at a later stage. We saved this scene out by itself and was a reference scene we could refer back to.
Wave Generation
Firstly, a plane is created, using the width and height channels rather than scaling. Maya assumes 1cm = 1m when using BOSS, so I set my plane to 150 by 300, leaving cm as the default unit in Preferences. We subdivided the plane using the camera frustum, meaning more subdivision close to the camera falling off to less subdivision the further away the face was from the camera. This gave a 4 million face plane, which sounds a lot but is just about workable with this method, and is required for the displacement to correctly resolve the detail on the surface.
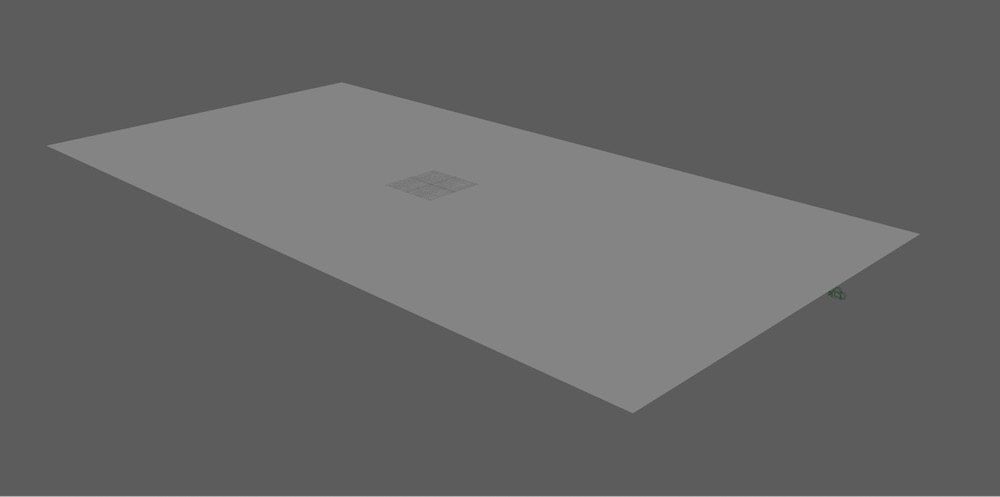
After deleting the history, and with the plane selected, we created a Spectral Wave in the BOSS editor. This creates a BossOutput shape, and leaves the plane, hidden, as the initial state geometry. This BossSpectralWave is fairly simple, it creates displacement based upon a set frequency and directional spectra. The Patch Size sets the scale of the waves, so the ratio has to match the dimensions of the initial state plane. The next thing to set is the Resolution, again this needs to match the ratio, and be large enough to resolve the waves. More can be learned about the BOSS Editor Attributes on the Maya Help page, but the settings for the first generator can be seen here.
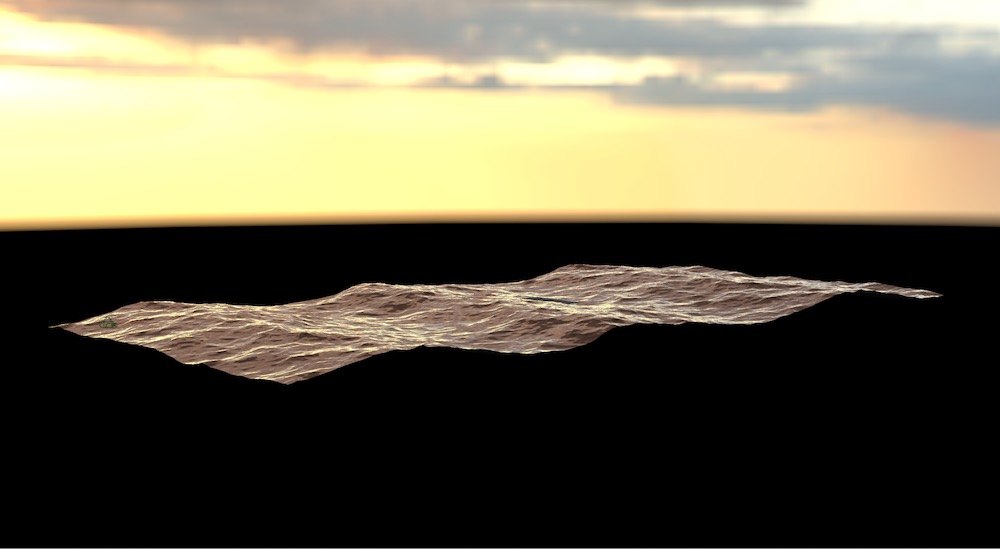
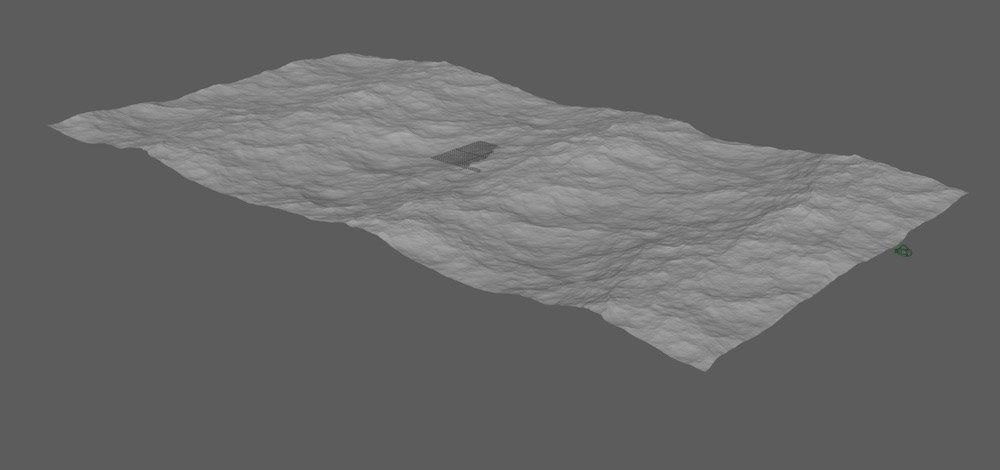
The idea was to create three sets of frequencies and directions; large waves (tidal swell), medium waves (wind swell) and small waves (wind-chop). Each one would be driven respectively by the drums, the piano, and the bass stems. The first stage was to create all three spectral waves and get a natural looking result using just these. We used a BossBlender to merge the three together.
So we ended up with a large swell
Connecting the Audio Data to the Spectral Waves
After extensive testing, we found the best attribute to alter the large waves was the ShortScaleCutoff. This basically works as a clamp for how small the wave can be, given the frequency and direction given. So the higher this number the larger the waves generate, and the smaller this number the smaller the waves generate. We found then that a very small value for this attribute would completely kill the waves, meaning that we could pipe the float value from the audio into this and the waves would only appear when the music was creating volume.
We found the best attribute for the medium and small waves was the WaveHeight, which would as it suggests, alter the height of the wave.
The problem with both these methods was that an instrument would make a noise, and the wave would spike up, and then quickly go back to its original size, resulting in a very unnatural movement for water. To solve this, we used MEL expressions to interpret the input value and output a value based upon a set of defined functions.
Once it started to achieve the effect we were after, we exported a cache of each size of wave generated. This was done with a 3 channel EXR sequence, storing the attributes of each wave, resulting in 9 displacement maps to create final ocean surface. Below is one 3 channel EXR:
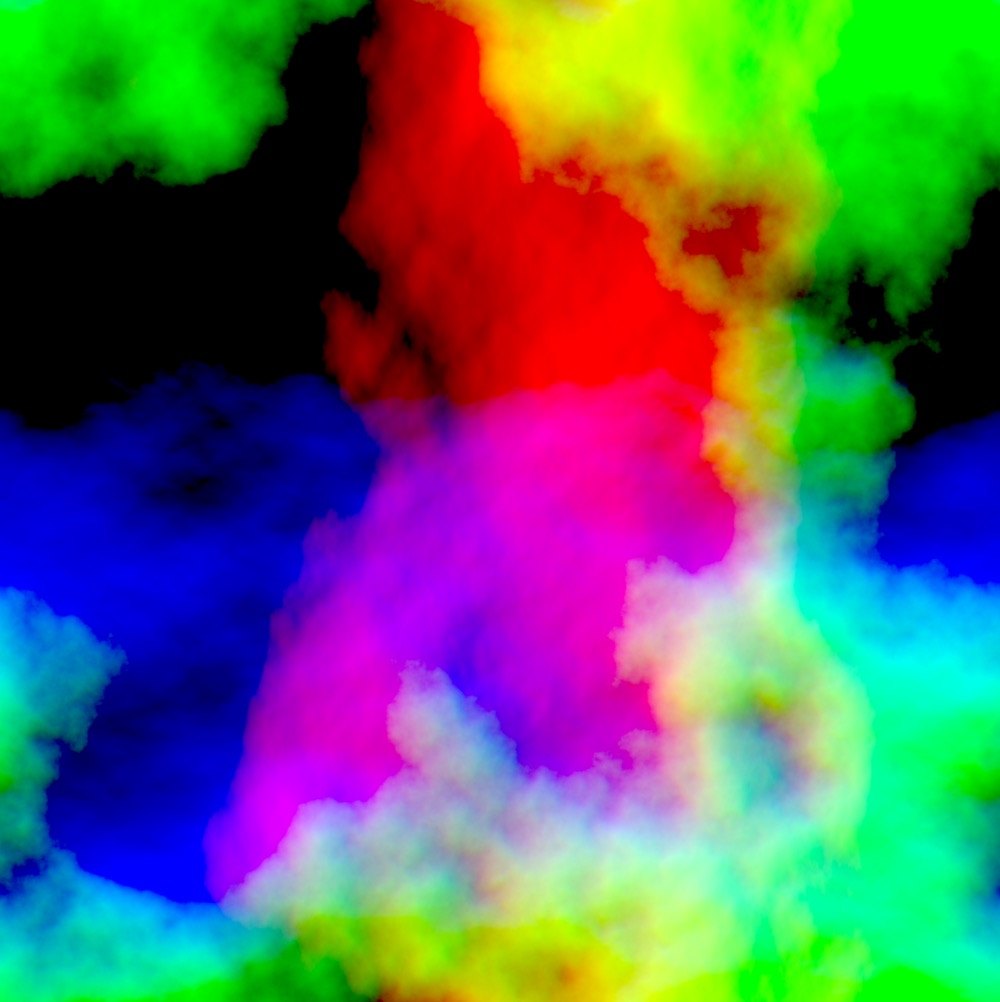
The displacement is stored in the R
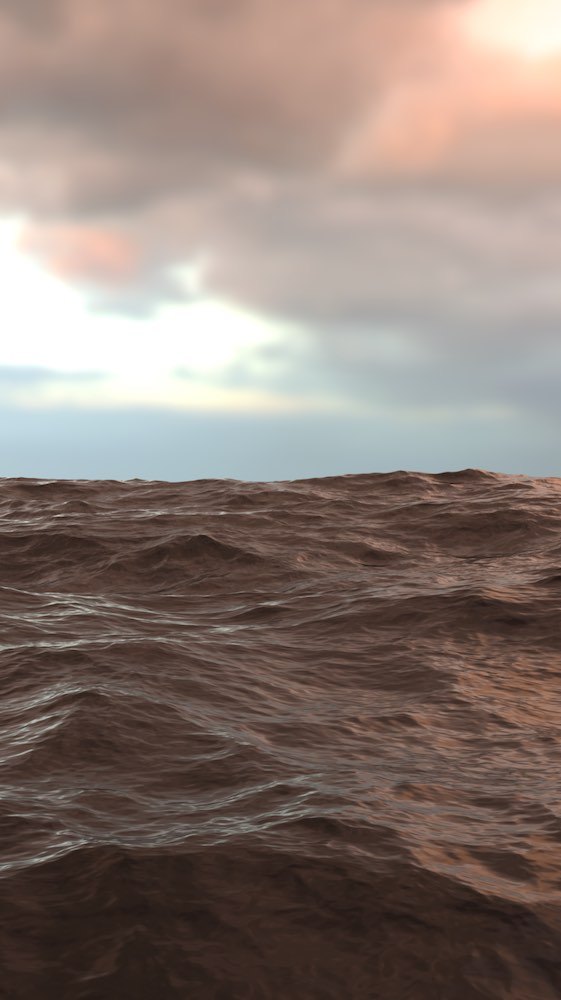
Shading and Rendering the Ocean Surface
Once we had the displaced ocean surface geometry, we applied an aiStandardSurface shader. As it is just the surface, we didn’t need to do anything volumetric, and so could get away with a simple surface shader. We made it have very little diffuse weight (faking the depth of the ocean) and set the roughness to be driven by the foam attribute from the spectral wave generator. Although we weren’t rendering any foam particles, the roughness meant that some parts of the waves, as they crested, were less specular.
It was lit with a simple HDRI, and rendered through Arnold.