Hair Primitive Projection Using Maya 2018 (XGen) and Fusion Studio 9
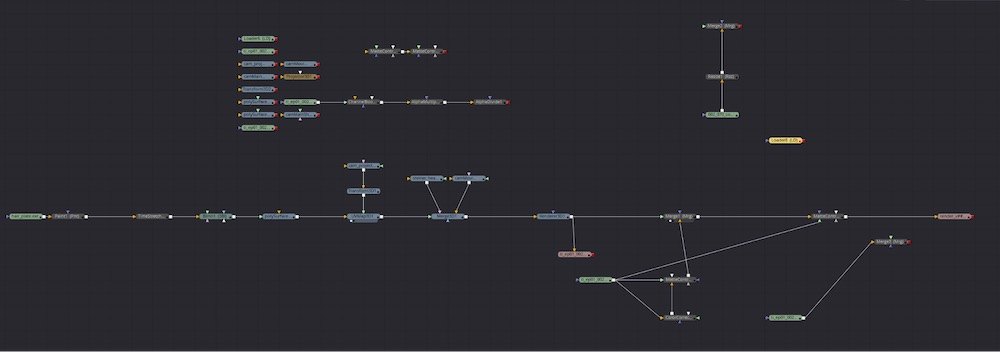
What We Did
Using a single frame from the plate, we created a simple groom, before decimating the hair count and using these to drive the animation of primitives with camera facing normals. We then used Fusion to project the plate back onto the animation and combined it with the Maya (MtoA) render of the groom. This allowed accurate preservation of the plate when deforming the hair and rendering out of a different camera. Possible applications of this method include deformation of the geometry of the hair, rendering with a different camera (moving), re-lighting and the ability to use the UVs to make changes to groom render in 2D.
Geometry Track and Blend Shape Deformation
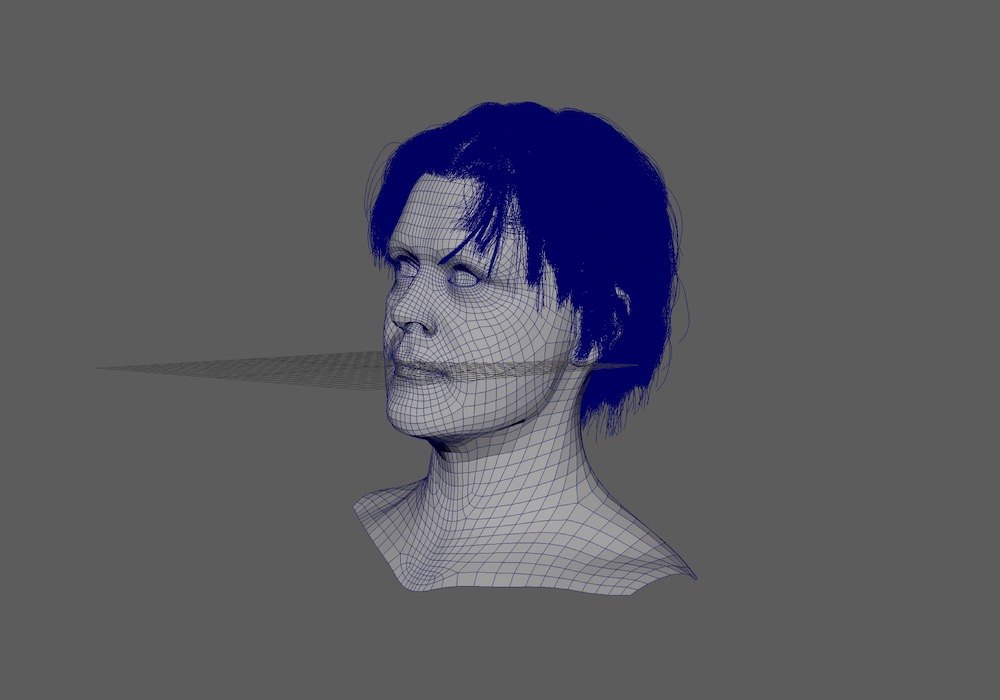
We started out by doing a simple geometry track of the plate. After this was sent to Maya, we used scan data from the other actor to create a blend shape of the two, we animated this and exported it out as an Alembic.
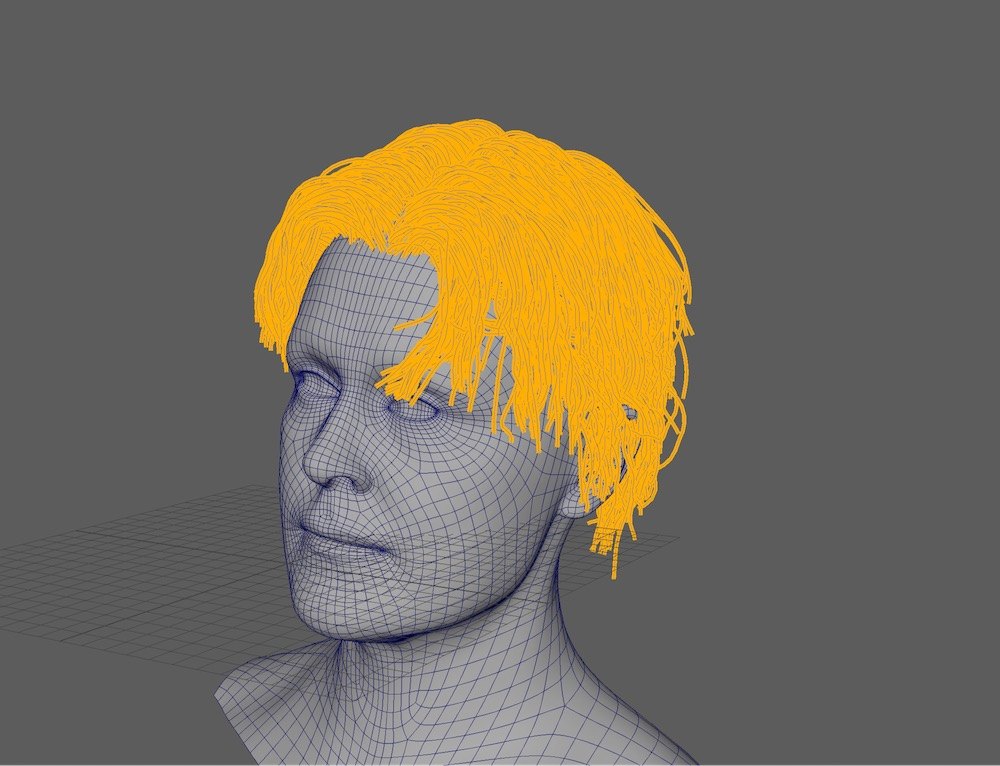
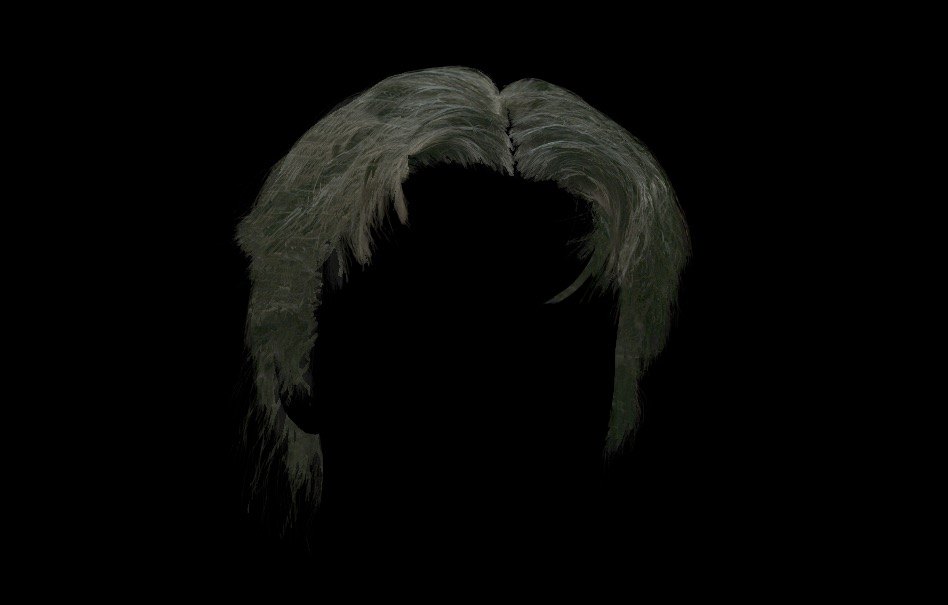
XGen Groom and Render
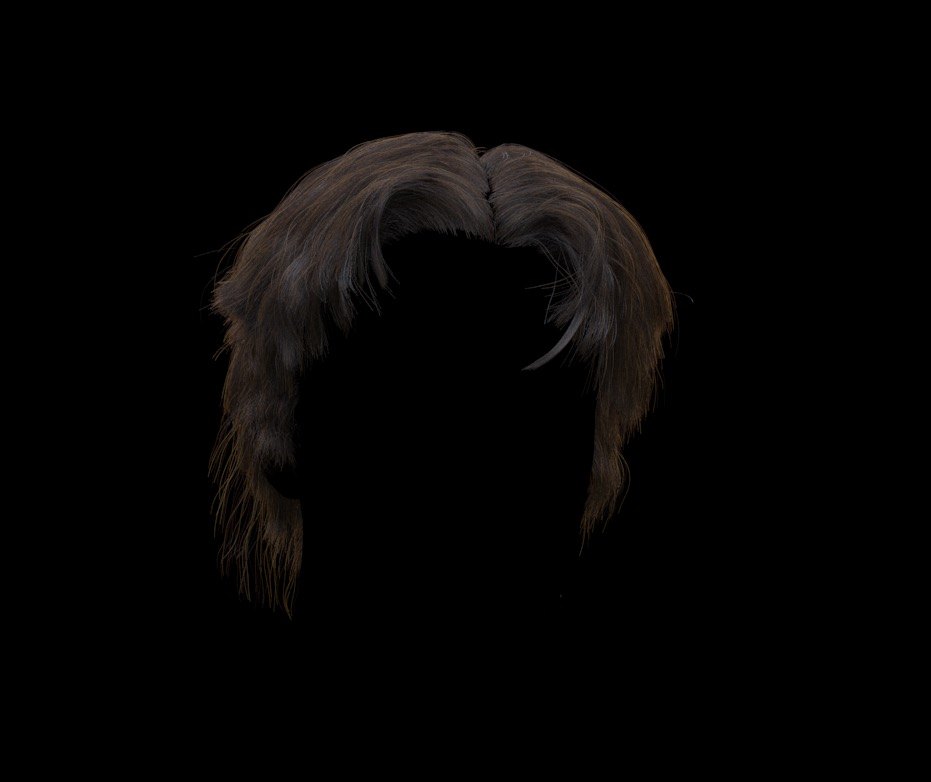
Using the plate as a guide, we blocked out the silhouette using XGen’s Interactive Groom Splines. After getting the overall shape right, we orthographically sculpted the hair to make sure it matched up with the first frame of the plate. This is important, that you pick a frame and stick to it throughout the process.
We didn’t worry too much about the fineness of the groom but instead focussed on the silhouette being correct. Our groom totaled about 65,000 splines once finished, enough to render a dense head of hair, but without becoming unworkable. We transferred this to our animated geometry and ensured that it deformed with the geometry correctly.
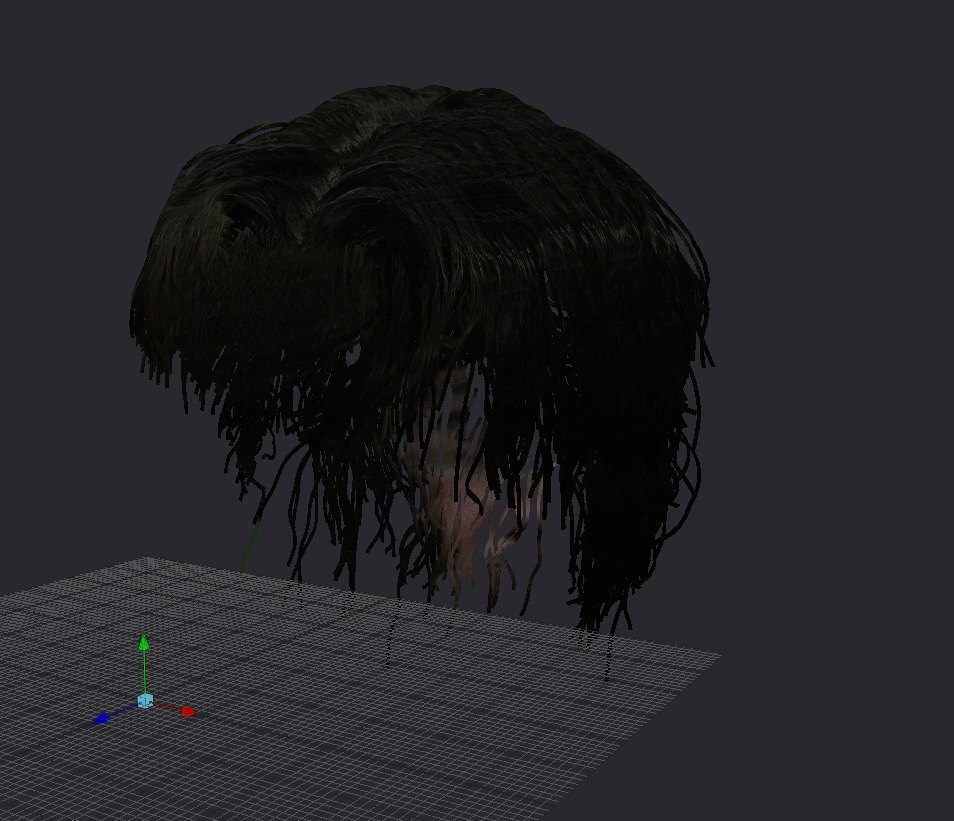
We then applied a simple aiStandardHair shader to the Xgen Splines and matched it to be as close to the plate as possible. Using the Melanin Randomness seemed to give the best result. We then created a moving renderCam, did a simple lighting rig and then rendered out the frame range for the animation.
Converting Splines to Primitives
Firstly, we needed to decimate the splines into a more manageable number. For this, we used a Linear Wire Modifier inside the Groom Editor and created about 3000 splines, interpolated from the original 65000. We also increased the width of each spline to fill in the space created.
Next, we made sure the splines were set to facing camera in the XGen hair_shape node and we converted them to polygons.
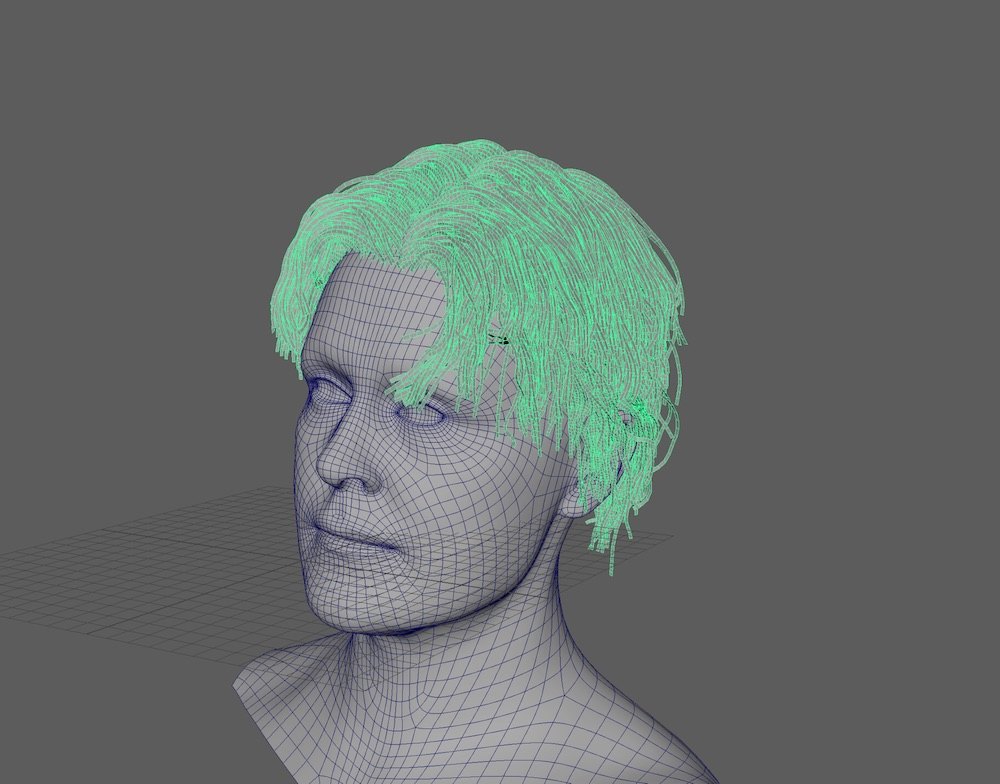
This creates a static polygon shape, with all the face normals facing the camera. This makes the projection behave more naturally, and keeps the polycount low enough to work with.
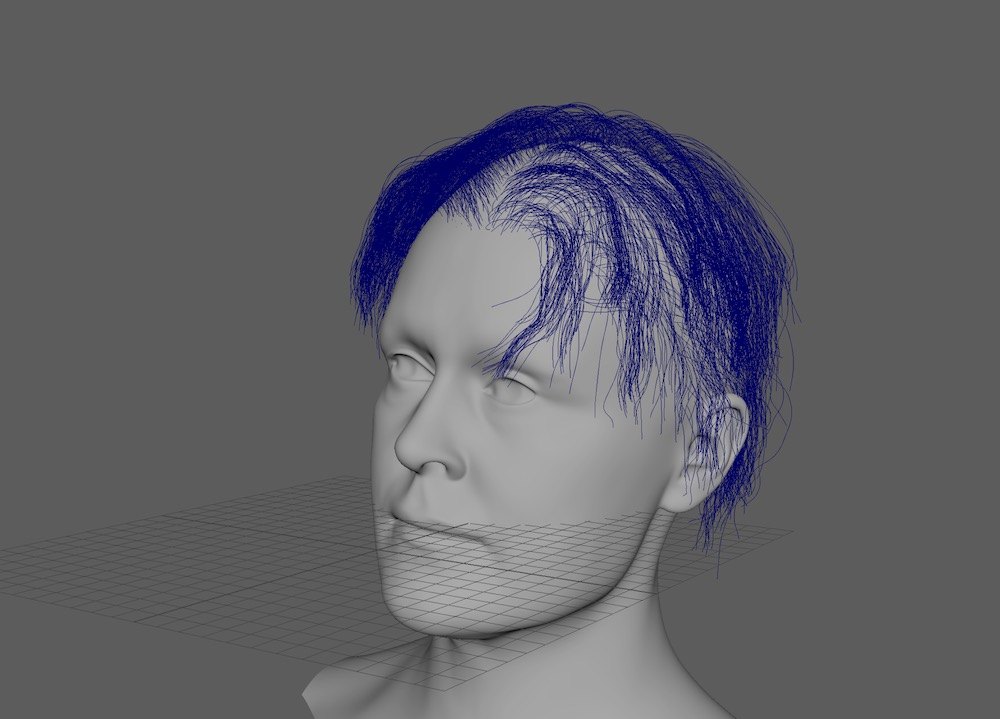
Animating the Hair Geometry
Going back to the decimated groom, we exported the animated splines as an Alembic cache. Opening a new scene, we imported both the spline cache and the static hair geometry. The splines are imported as NURBs, and are grouped together.
Selecting all the curves, and then the geometry we used a Wrap deformer to use the NURB curves to drive the deformation of the geometry. We turned off the Weight Threshold and set the Max Distance to 1.5. We turned off Auto Weight Threshold and made the bind non-exclusive.

Once the animation looked like it was following the animation of the NURBS, we selected the hair geometry and cached it out. This left us with a geometry cache of the low spline-count hair, and a render of the original high spline-count groom.
Projecting and Comping
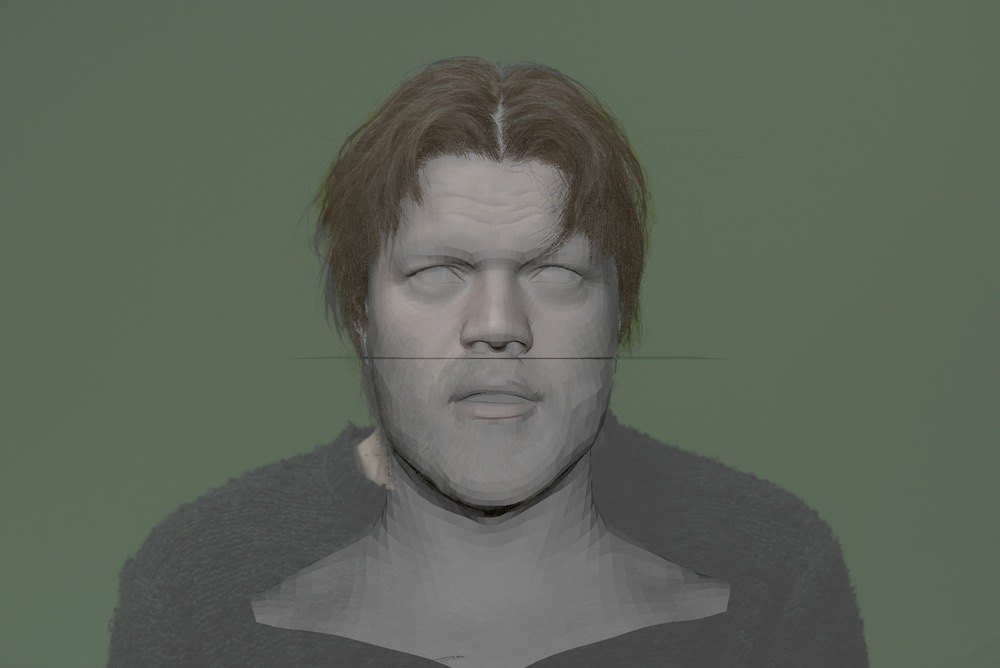
In Fusion, we loaded in the Alembic cache of the geometry, the Alembic cache of the deforming head, the original frame of the plate, the render of the groom and an alembic cache of the projectionCam and the renderCam. Firstly, we piped the frame of the plate into a Blinn shader node and fed this into a UVMap3D. Using the projectionCam, we lined up the plate onto the hair geometry.
We merged this with the renderCam and the head geometry, before connecting it all to a Renderer3D node. We set the head geometry to matte out the back of the hair, and the result was a projection onto the animated ribbons. We noticed that the plate was showing some green screen still, so we added a Paint node upstream to clone the hair onto any parts of the projection that was showing anything that wasn’t hair (skin, green screen).
Next, we merged the MtoA render underneath the projected render, which fills in the gaps and fixes any stretching problems when the camera moves. After this, we used a MatteControl to use the alpha from the MtoA render to multiply the merged image to fix all the edge problems. The result very closely resembles the plate, but is rendered through a new camera, all whilst deforming and moving.