Tree scanning and Environment build for a VR installation, 134 Million Points and Counting
What We Did
We scanned processed and created assets for a VR installation experience, where everything was displayed as manipulated points rather than geometry.
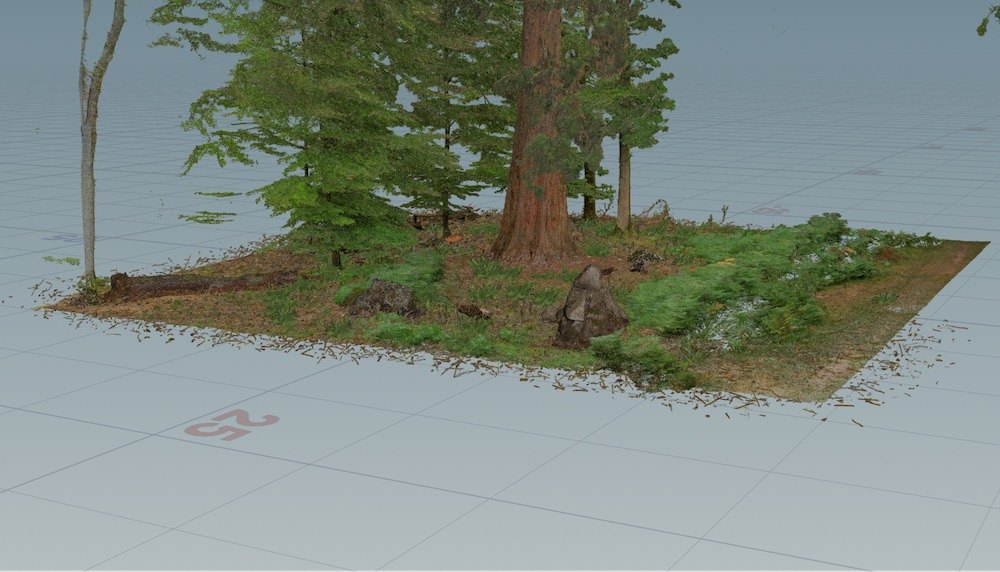
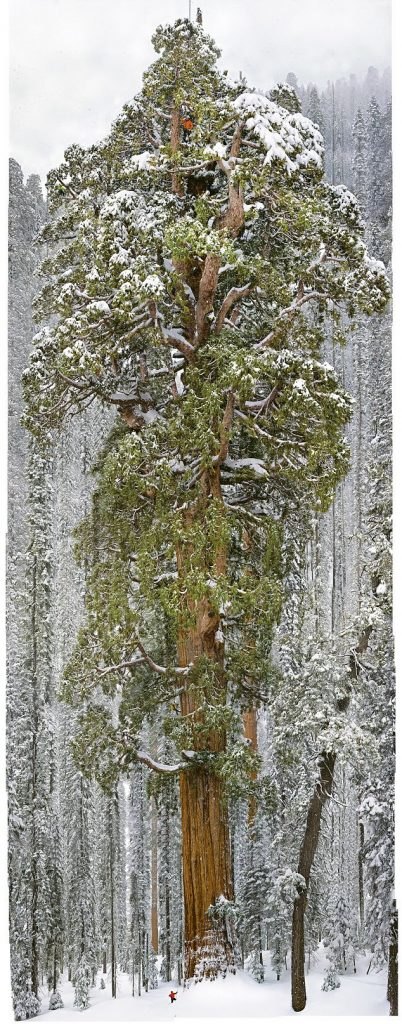
The environment is a large Sequoia Tree in a forest of rocks, ferns and smaller trees. We used photogrammetry of the tree base, combined with the LiDAR provided to create the layout. From this, we used the scan data to create the hero tree and scatter assets to fill in the rest of the environment. A script was written which converted all of this to a point cloud and baked in the lighting rig into the point colours. The whole project was delivered as point cloud data, ready to be ingested into the client’s VR system.
The Scan
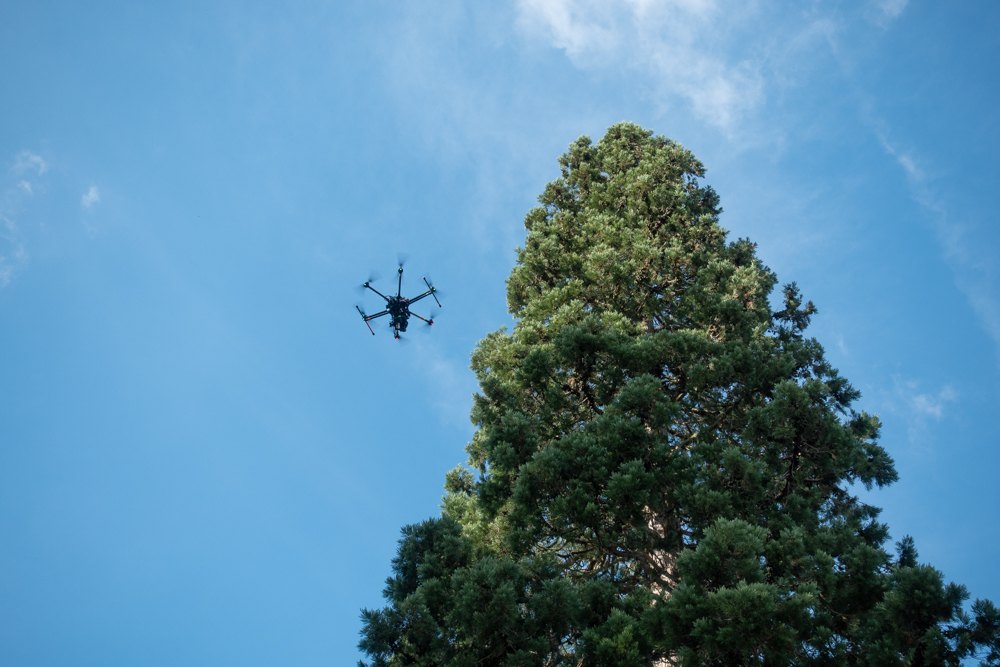
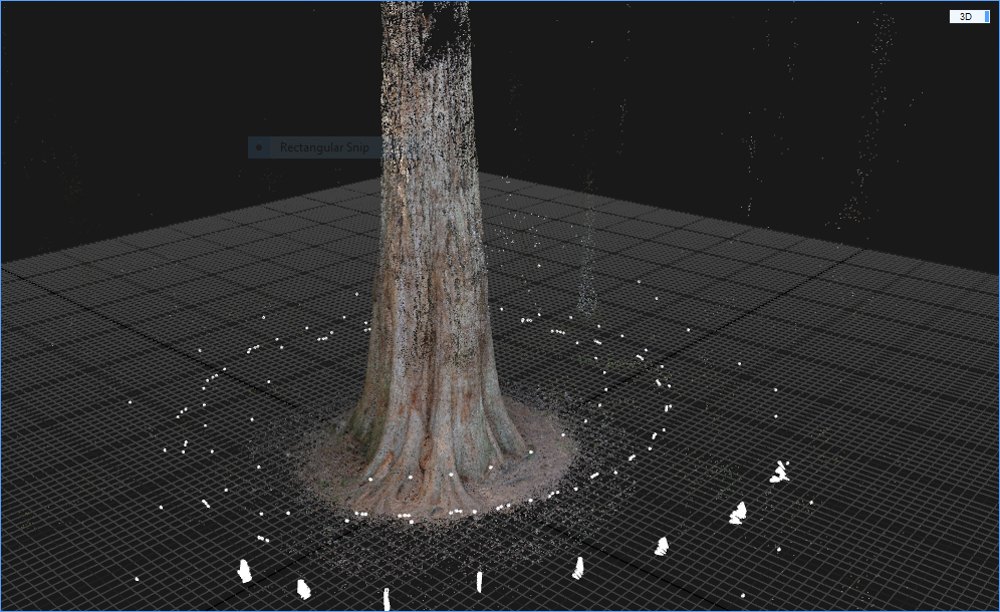
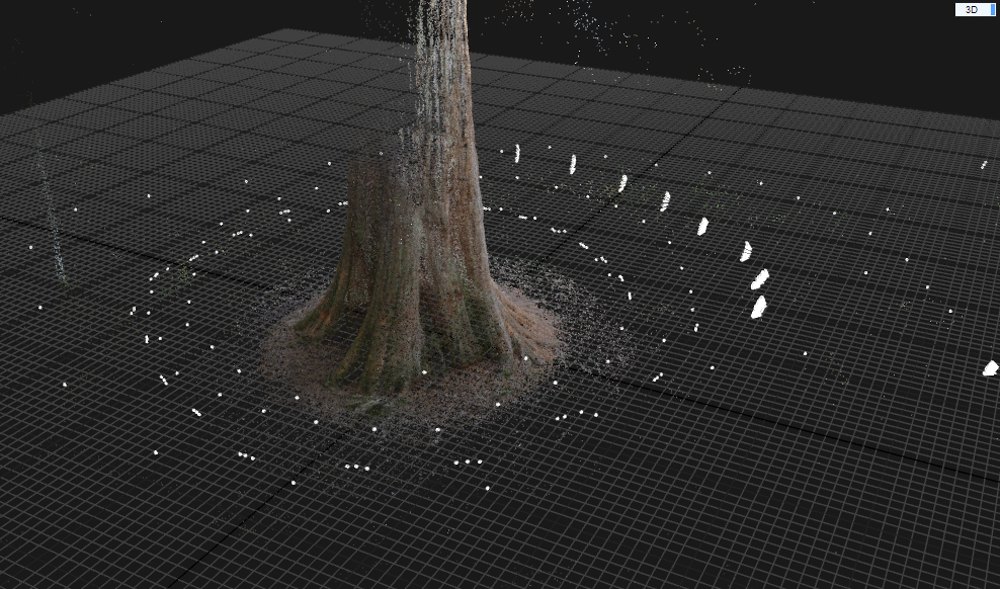
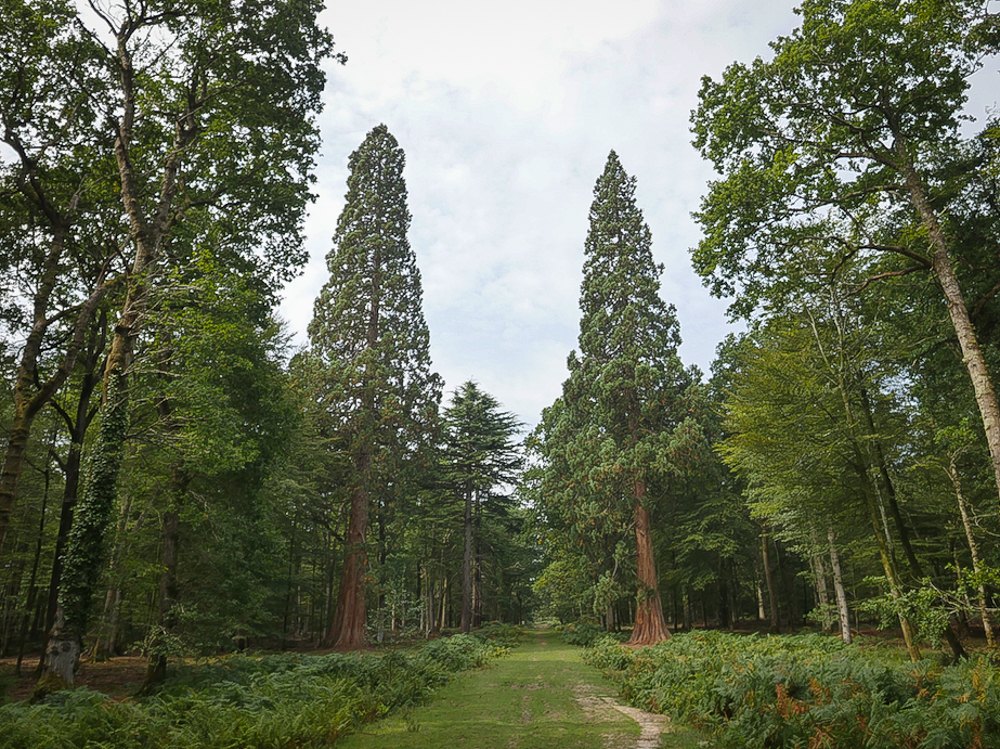
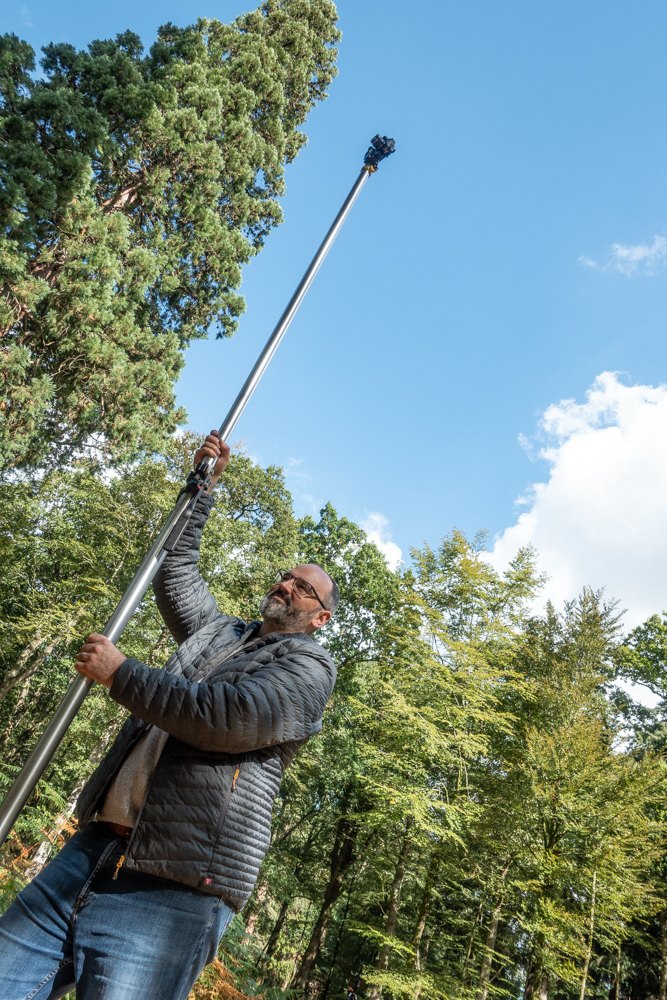
The tree we used as our base model is one of the two largest Sequoia trees growing in the New Forest. Although we had LiDAR data for the tree already, we wanted to get fine detail of the trunk in particular, and photogrammetry was chosen as the best way of acquiring this. The only problem was the size of this tree; it’s massive! Capturing it using ground-based photography only would limit what we could capture, so we used a combination of techniques. The simplest was elevating the camera up to 4m and monitoring/triggering it remotely. This coupled with photos lower down gave nice coverage of the lower trunk and surrounding ground. The upper parts of the trunk and overhanging branches were capturing using our UAV (drone) which carries the GH4 DSLR. This gave us not only another layer of photographs to add to the mix, but also a fantastic reference of the upper parts of the tree from above. We’d have struggled to get as much coverage as we did without the UAV, or probably having to utilise scaffold or a cherry picker for example. The LiDAR data and photographs we all aligned using Reality Capture and exported as geometry, textures and point cloud data for the next stage of the build.

The Tree Build
For a tree, the size and complexity of a Sequoia, modeling every part of it would be far too time-consuming. Therefore, we knew we needed to use a more procedural approach, that allowed for changes to be made to the whole tree at one. We decided to use Speedtree, a software specifically designed for this.
We started by using the reference geometry created by the scan to understand how the base of the tree led into the trunk. From here, it is a process of using the reference imagery, and getting the tree as close as possible.
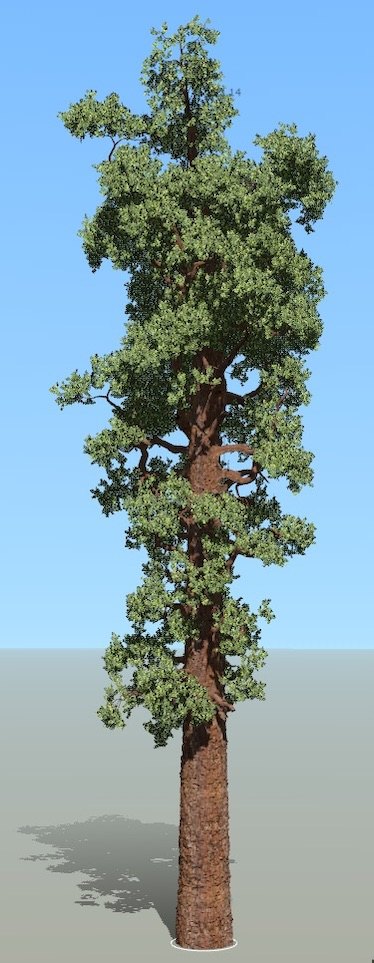
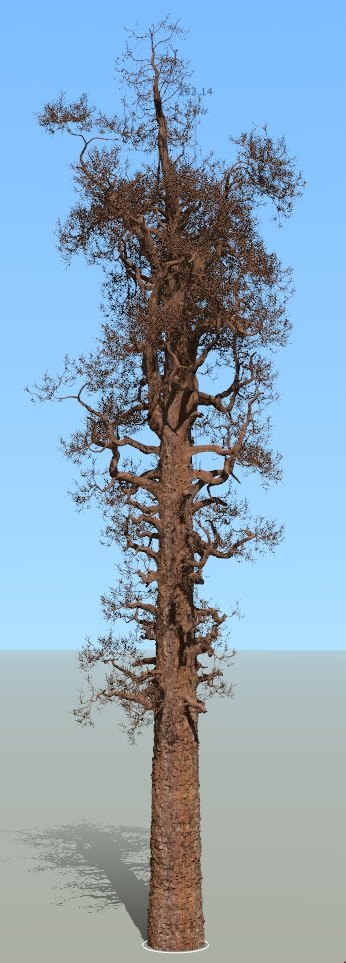
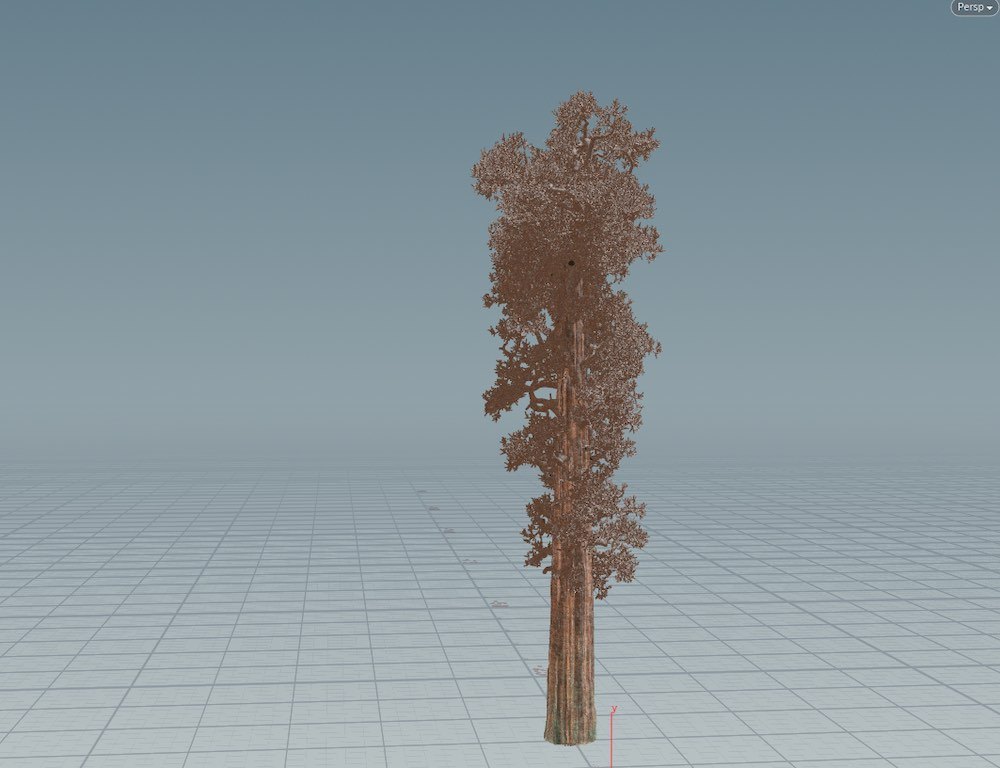
At this stage, we weren’t worried about the textures, as we would update there later. Our main focus was on getting the silhouette right and making sure there was enough detail in the branches. This is all based on fractal generation, with noise applied to make each branch look different, whilst looking like it has grown organically.
From here, we took the trunk into Mari and used a projection techniques to use the textures from the scan and drone photography to create the texture of the trunk and branches. This ensured that it would merge with the scan of the base from the original tree.
The Environment Build
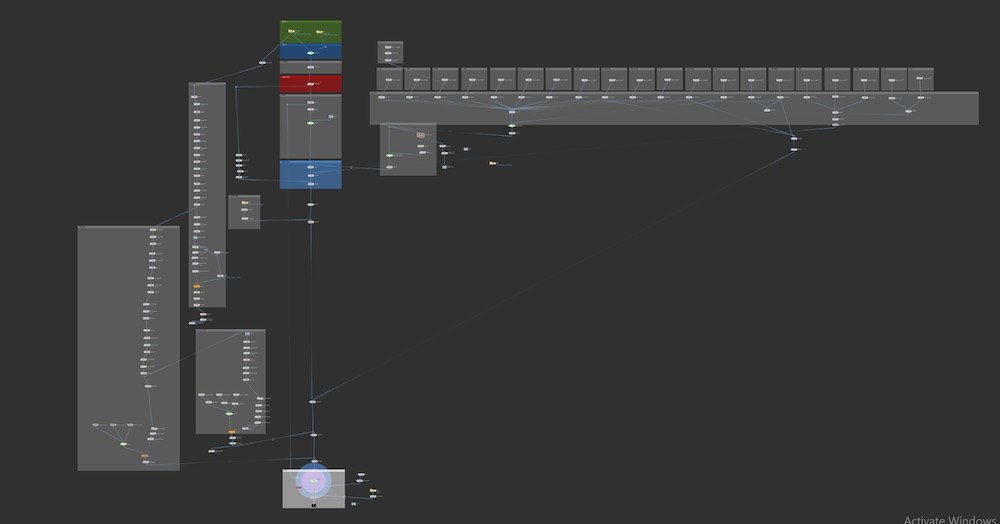
We started the environment by taking the LiDAR scan and laying it out in Houdini. We used this as our base so that we had a background to place assets in and scatter in all the twigs and leaves. This data is all a point cloud, so all of our work going forward had to be converted to points so that it would fit within the scene.
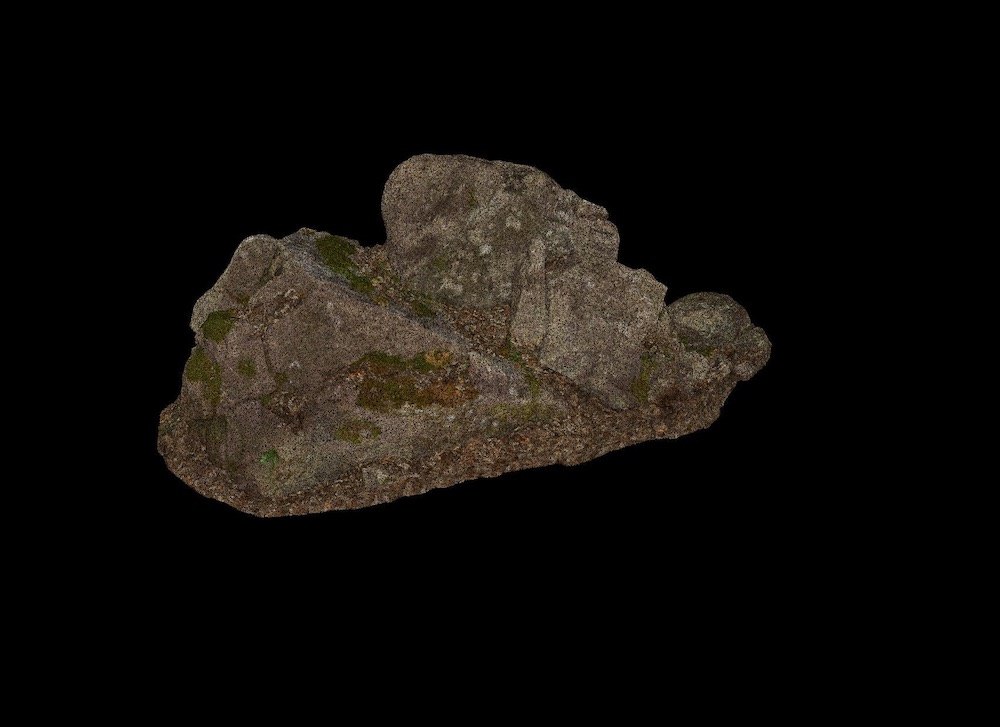
For the hero assets, we used Megascans to download the base geometry, as selected by the client. From this geometry we could apply the colour map, to give a simple asset. We set this up for rocks, tree stumps, ferns, twigs, leaves, etc. We ended up with about 40 unique assets.
The problem we had was that as a point cloud, these assets looked really flat and boring. They needed a sense of lighting to feel like they were part of the environment, but lighting a point cloud at the client’s end wasn’t an option, so we had to come up with a solution.
We wrote a simple ray tracer, which sampled the rectangle area lights and traced the rays to the surface of the geometry to record the additive contribution to the points colour. This was done using the original geometry, and the colour data from each point was transferred back to the point cloud. As there wasn’t a camera in the scene, the renderer was much easier to write. It was simply adding a colour value to the original point colour, to mimic the intensity change when light hits a surface.
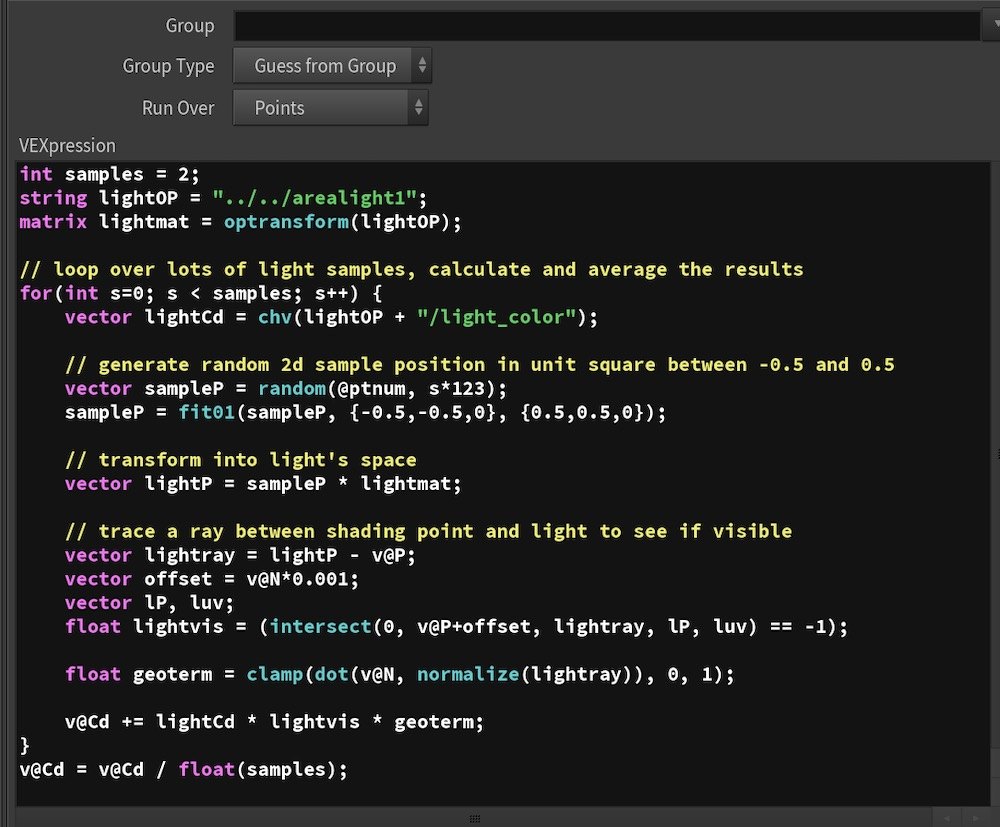
This allowed us to give a sense of lighting on the assets and really gave them more form. We could bake in this lighting based on each asset’s position, so once we had finalised the layout we could run the whole environment through this node.
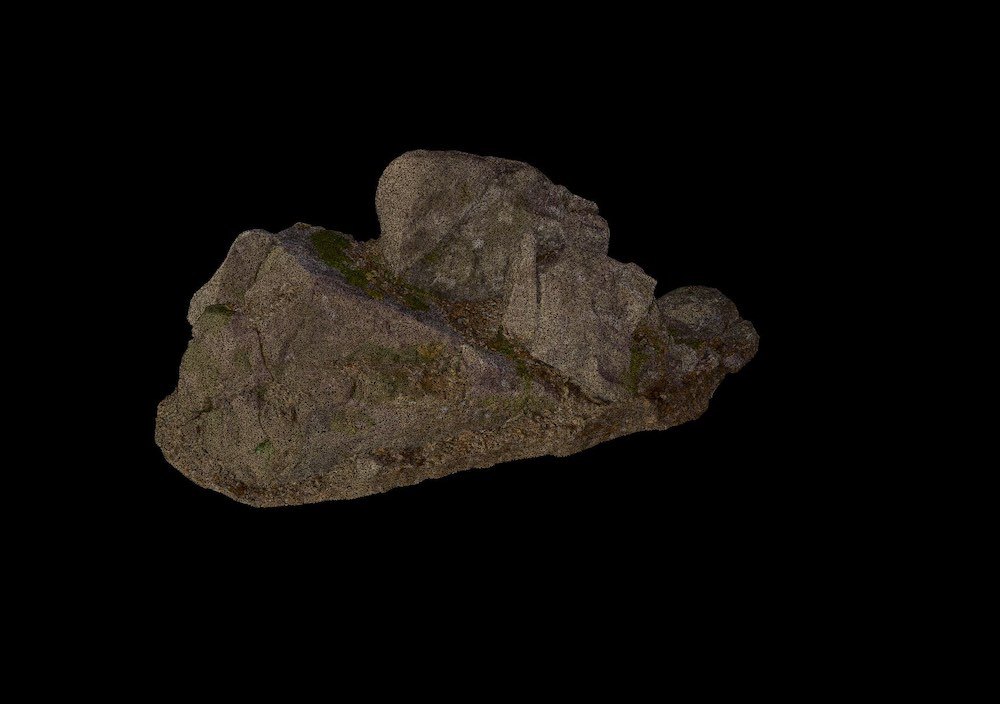
As part of the lighting setup, all the assets, hero and scattered, are turned into a point cloud by scattering points on all the surface geometry. This meant we could precisely make the entire scene the number of points required by the client and could change which objects were more or less dense.
Bringing it all together
Using the same lighting setup, we ran the tree build through the same node to bake in the lighting and turn it into a point cloud. Our script was set up to export everything out in groups and keep the hero assets, like the rock, separate. This was all delivered to the client so that they could assemble and merge it together in their VR engine. The entire environment ended up being about 200 million points and was extremely taxing on our machines. However, by using a node based approach, we could isolate different parts of the environment at it was processed, and limit how much was being seen or exported at once.