What we do uniquely at Lexhag is think about our creative challenges with all the tools available to us, which includes SFX and practical techniques. To illustrate this we decided to make a workflow piece to show how a shot can be designed from the start to end using a range of techniques in both the practical and digital world. This is where they gracefully collide and open the door to lots of possibilities.
What you need
We’ll demonstrate how practical work can interact with the digital world and the steps necessary to make it possible. If you want to follow along at home, you’ll need:
- A rigged CG creature
- A 3D Printer
- Access to water and plaster of Paris
- A small container of silicone rubber
- A camera and an actor
- An animator, 3D package of choice and the means to render
The Steps
CG Creature
The objective of this workflow was to prove that modern techniques could be used to speed up traditionally timely processes. When we’re on a production we’re always looking for new ways to achieve the design while keeping to a budget. The key to this design was to demonstrate how actors can interact with CG creatures, convincingly.
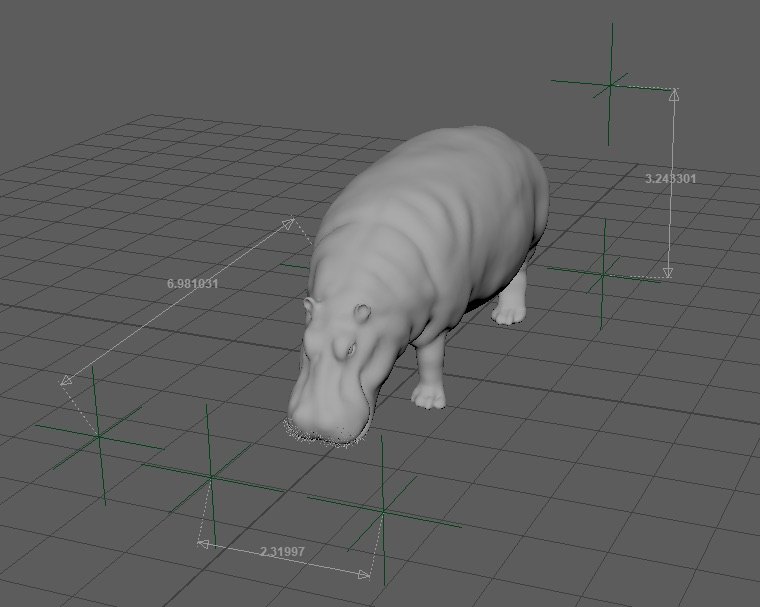
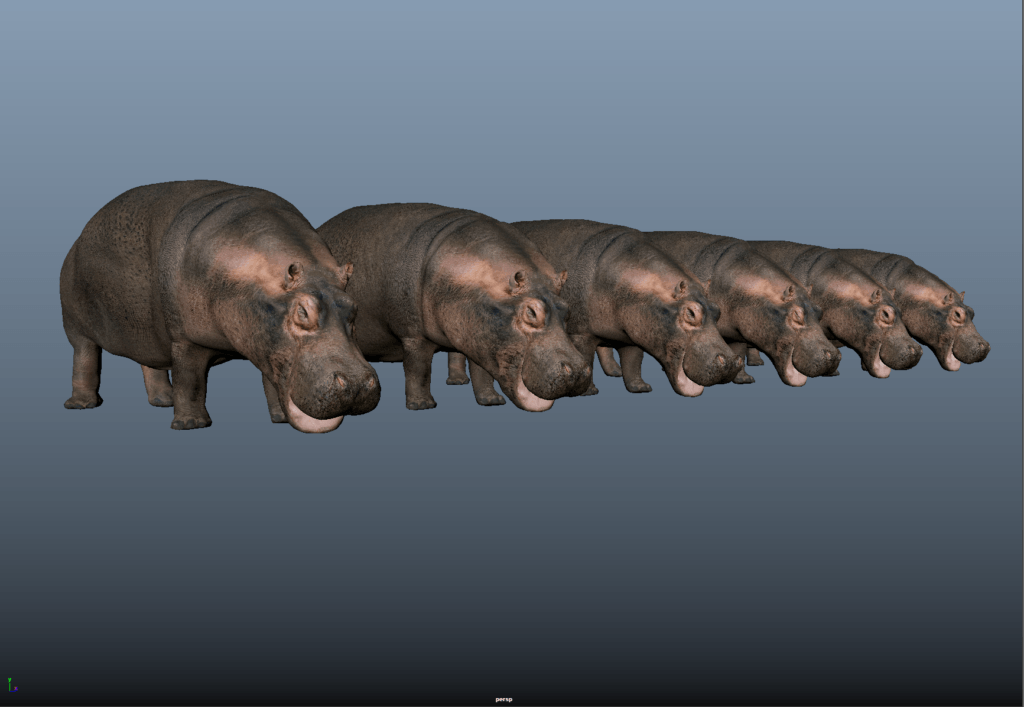
With a fun idea in mind, we set out to complete our first step. Now, this isn’t a modelling/rigging exercise so we chose a creature that would be fun, have some ability for character performance and more importantly was available to us in our archives. Cue the miniature Hippo!
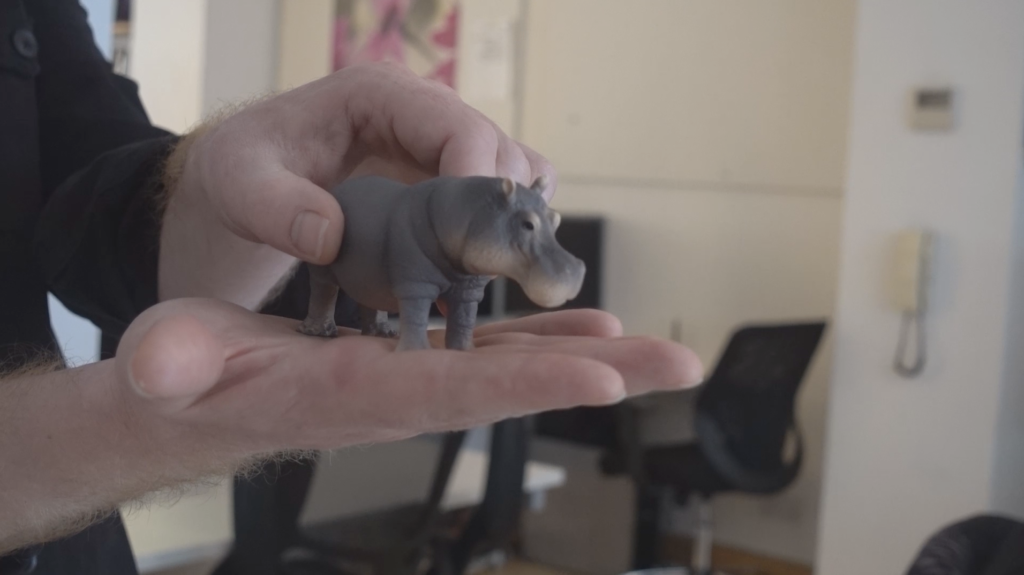
Our Hippo should fit in one’s hand. After all, it’s a rare pigmy Hippo that can only be found in the UK, so a scale needed to be set.
Mould it!
Once the scale was agreed we exported a water-tight object, which we then printed in our very own workshop. In the meantime, we designed a shot using a toy with a similar scale. Declared “toy-vis” (the latest vis on the block) we figured out the best camera angle with our toy and a mobile phone.
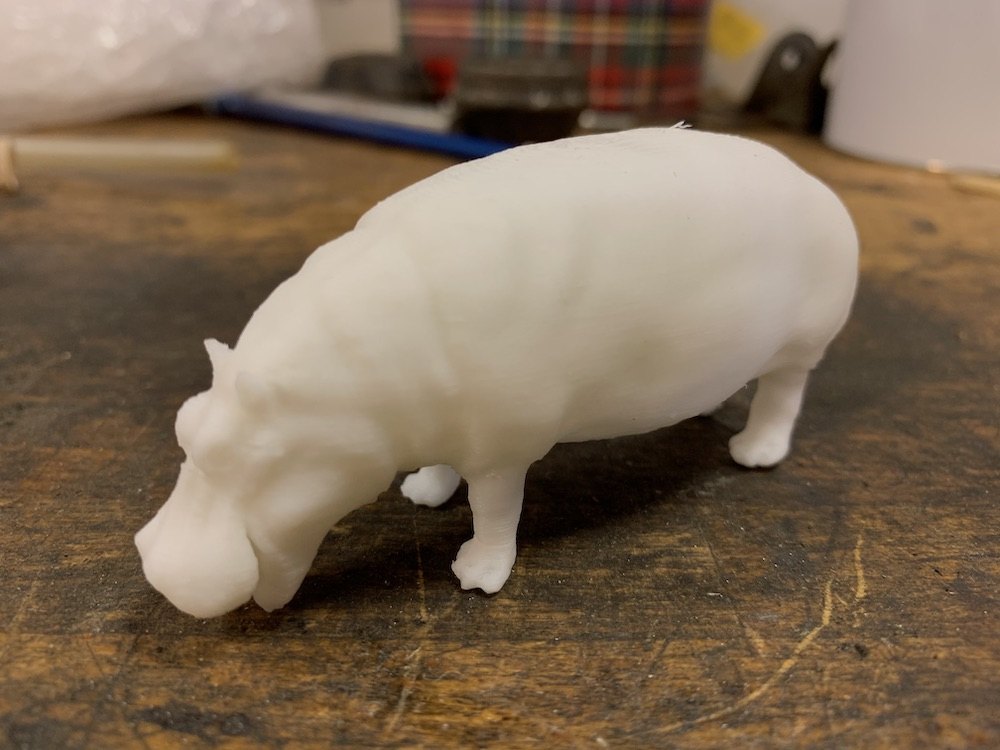
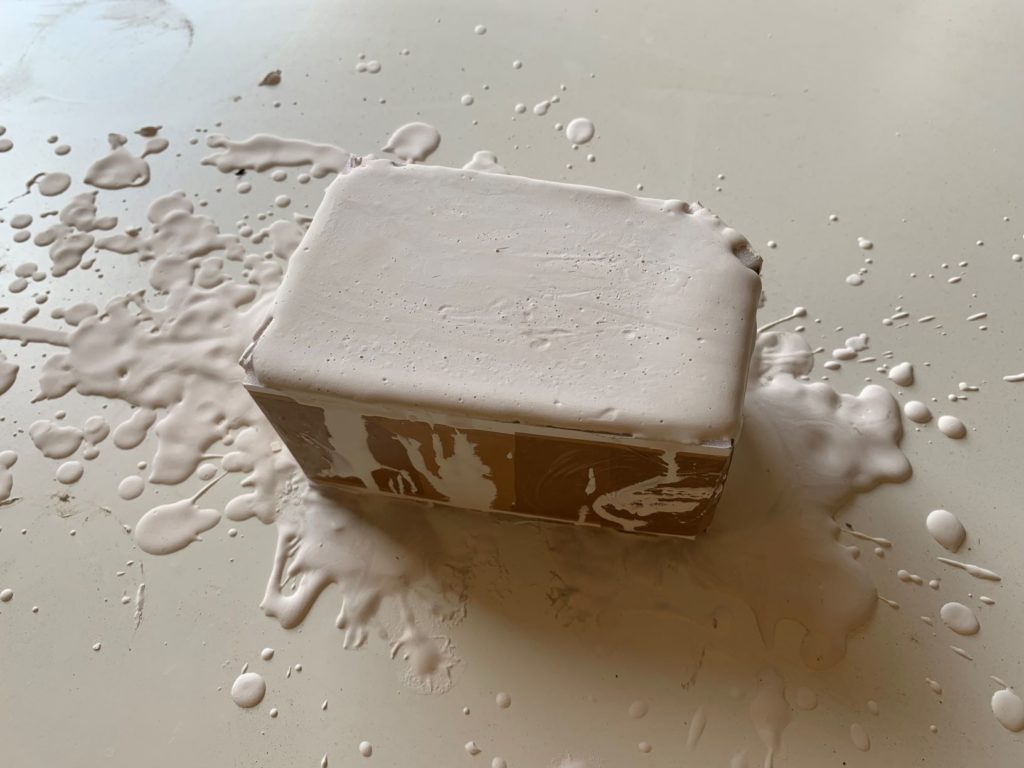
While “toy-vis” was being passionately discussed, our workshop prepared the printed Hippo for silicone casting. This involves making a mould, which you can see below. The plastic Hippo was carefully set into some Plastiline, which creates the first half. We didn’t need an identical replica of the animal so we agreed to make a quick two-part mold.
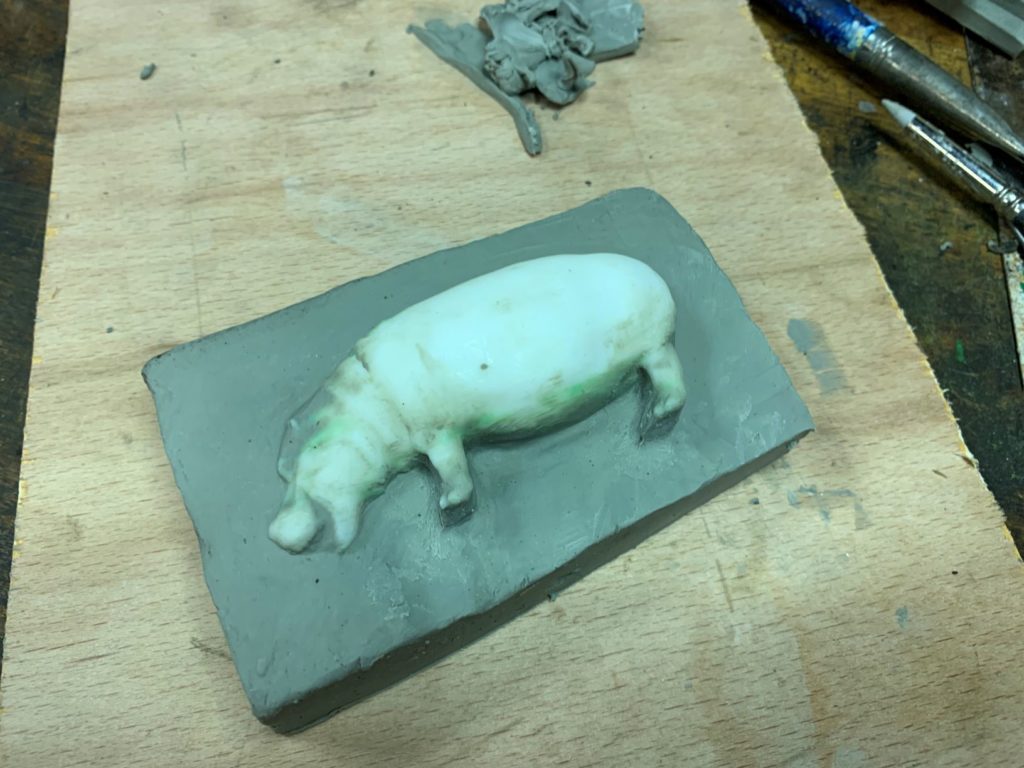
Once one side has been sealed it’s placed into a box and filled with Plaster of Paris. This captures the first half of the Hippo of our two-part mold.
Once the plaster has gone off we can remove the modelling clay, which exposes the second side.
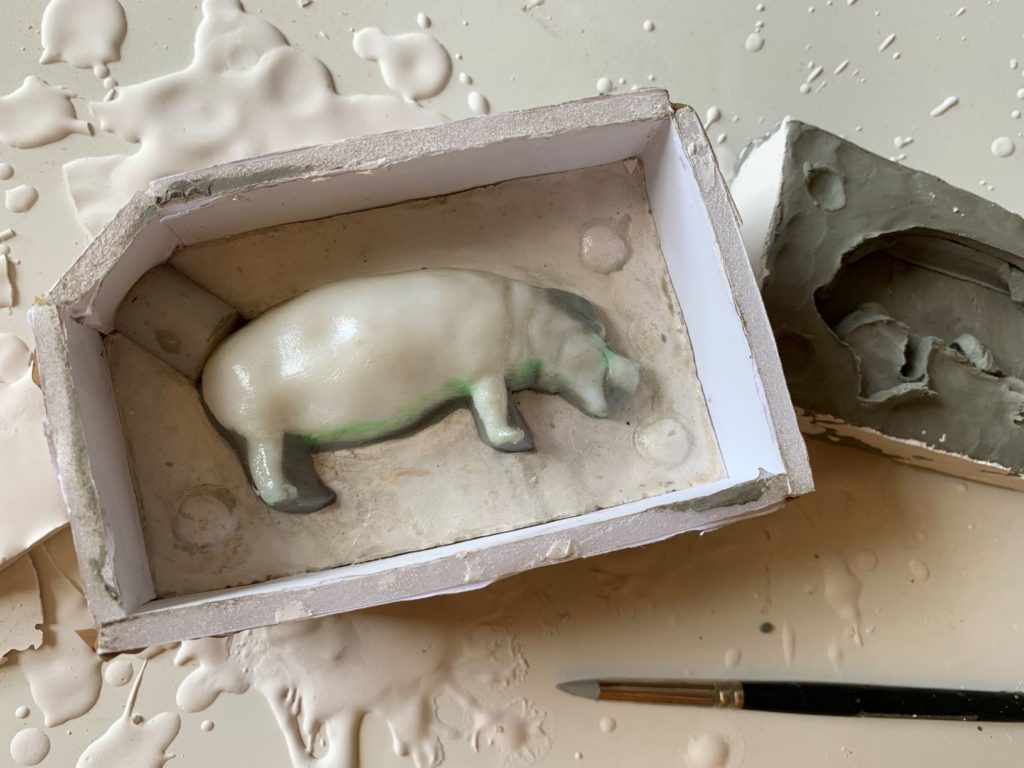
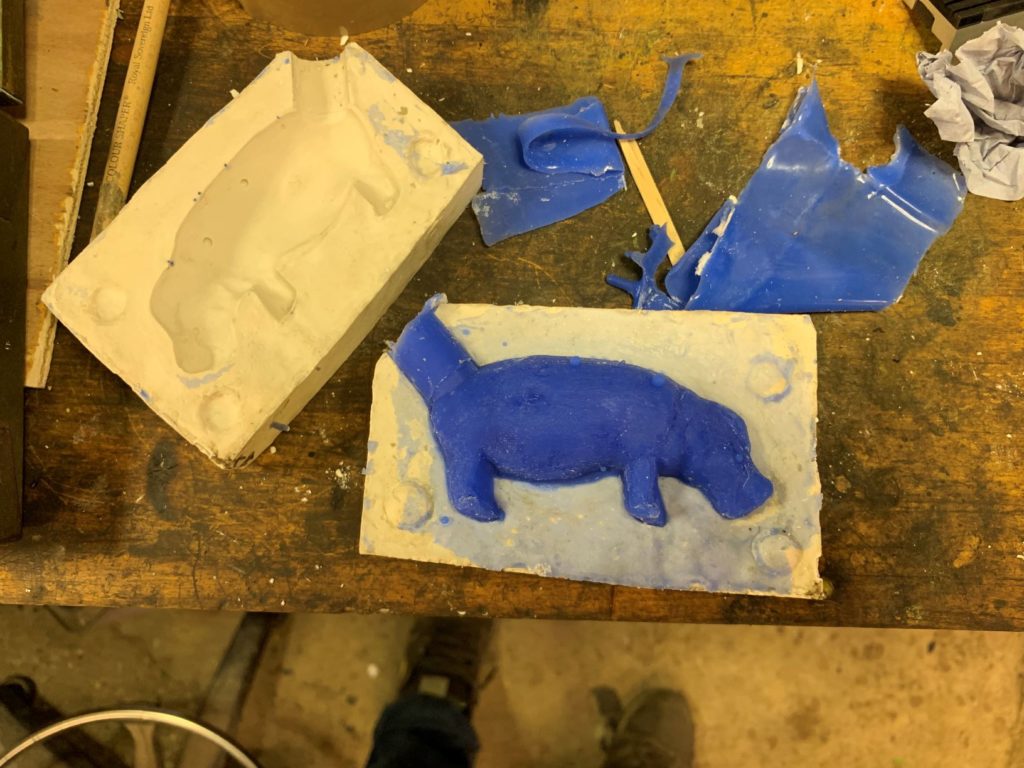
The second side is prepared with a release agent, the box re-applied, we can then pour the second half of our mold. Don’t forget to make some small keys, which are the round bobbles you can see. This enables the mold to register once it’s back together. The two halves of the mold are split and cleaned, ready for a Silicone pour.
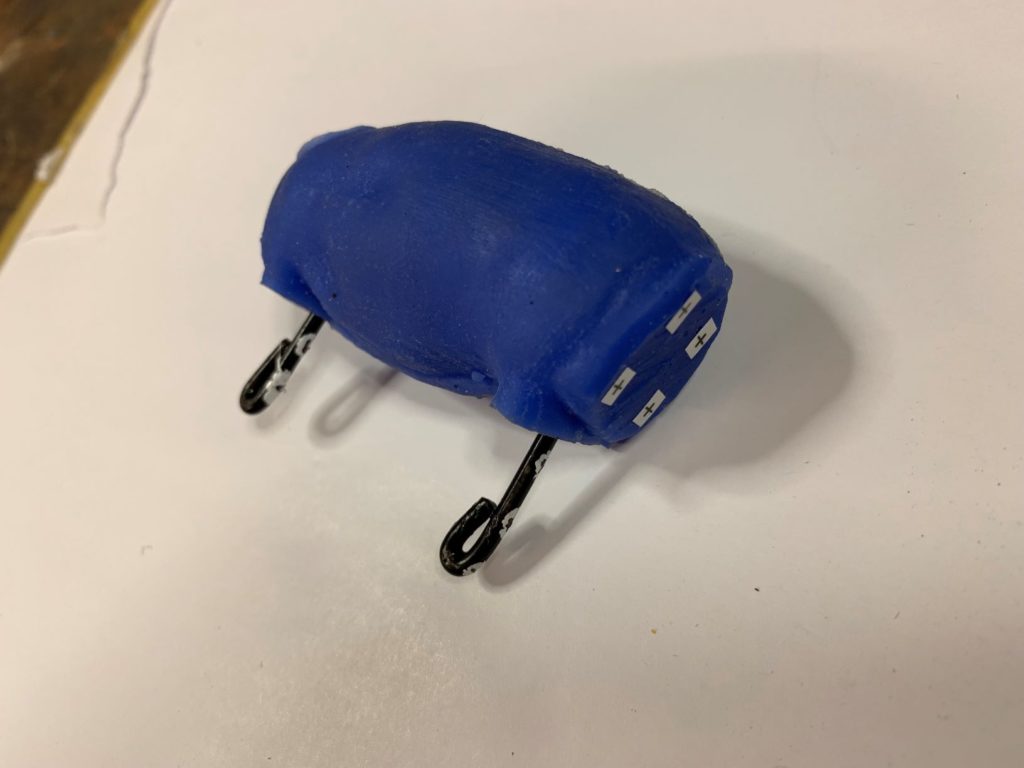
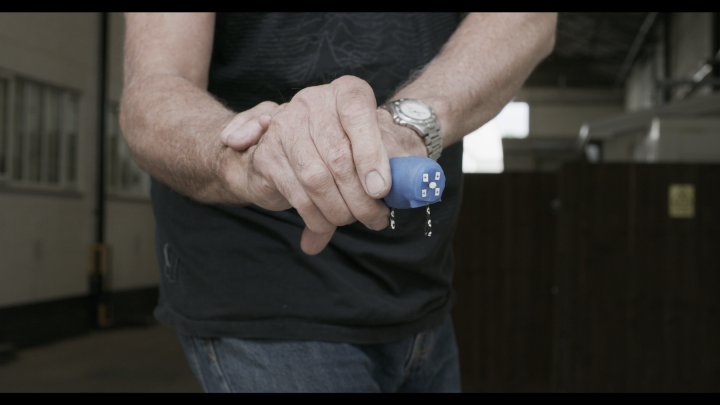
As we didn’t actually need the whole hippo, just the body for the actor to squish, we got a bit choppy-choppy cut-cut on the poor wee fella. Then to add insult to injury we added two peg legs and a few tracking markers and voila one Hollywood VFX hippo good to go!
Shoot it!
The shoot took place in the glamorous surroundings of a Pinewood Studios backlot and was captured using Brownian Motions Red Weapon. We shot full-frame 8K to capture the most data we could. We filmed several plates to cover ourselves, including different action angles and some clean plates to make the removal of the rig, easier.
Movin it!
Once the plates were back at Lexhag HQ we went about the usual process debayering into an ACES EXR sequence and delivering the plate to our tracking artists, who created an accurate object track of the silicone, squishy. Once that was done all the elements were in place to get our groove on!
As a result of the “toy-vis” we knew exactly how the hippo was going to be deformed. We were faced with tweaking the CG hippo to fit the requirements of the shot. The Hippo asset was pre-rigged but unfortunately, there were several issues with the skinning that some preliminary animation tests had revealed. The Hippo rig also lacked any real ability for facial animation.
The solution was to reskin the hippo and to add a number of blend shapes that would allow for some basic facial control. The primary blend shape was for the deformation of the belly when he’s squeezed. The other shapes were for things like cheek puffing and nostril flare and eye scrunching.
The hippo was to be plucked from a pocket where he was enjoying a well-earned nap. The diminutive somnolent Hippopotamidae is then spurred into action by a sharp squeeze to the belly.
The incidental movement of the actor’s hand allowed for the hippo to sleepily loll from side to side before the pinch. The hippo inflates slightly after the pinch and his legs pop out (We were channelling an angry pufferfish) as the flames issue forth. He then relaxes post-eruption and angrily starts to struggle as he disappears off frame.
Burn it!
As most pigmy Hippos are capable of blowing fire we thought we capture some elements of some projectile fire, which we shot back in the workshop. The rig consisted of a steel pipe with a sealed match head in one end. We then made up some projectiles from Flash Paper (the stuff magicians use), which we gently primed into the barrel. With the light touch of an electrical button, the paper turns into flames and fires out fo the tube. Our capability to shoot Slo-Mo at the time of firing was Nil, so we opted for the iPhone, which gave us 240FPS.
We did intend to use the real flame elements in our comp but it turns out that an iPhone isn’t great in a VFX environment. Great for capturing reference, though. Next time our budget will stretch to a Phantom and we’ll have some production-ready assets. The final shot features a CG interpretation, which was created in Houdini.
Mixin it!
So we mixed it all together and sprinkled it with magic Comp dust and this is what we ended up with. Hip Hippo-0raaaay!