Hair and Beard Grooming with XGen and Arnold
What We Did
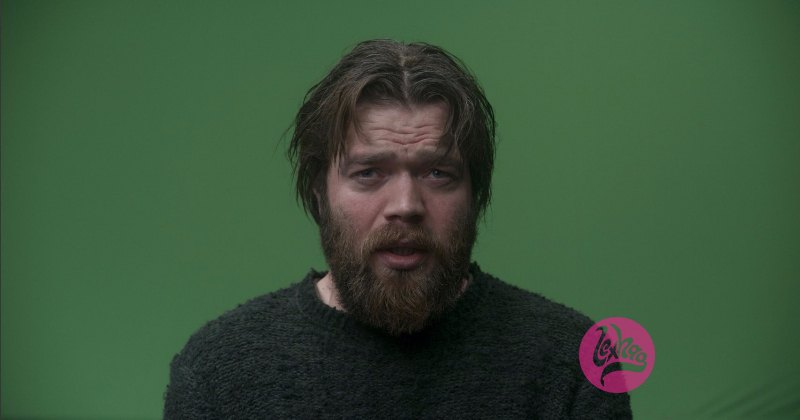
We did a full beard groom in Maya using Xgen splines and rendered it out using the new Standard Hair shader in Arnold 5. Standard Hair is a physically based shader to render hair and fur, based on the d’Eon model for specular and Zinke model for diffuse. Realistic results can be obtained by setting a few simple parameters for the base color, roughness, and index of refraction.
The Basic Groom
We started by using the base head geometry to generate splines using Xgen’s Interactive Spline system. Using a density map, we painted the splines onto the parts of the face and neck where we wanted the hair to grow. From this we used the comb, cut and grab tools to move the splines into the right shape for the beard. We used various sculpt layers to separate out different parts of the groom.
Noise and Curl Passes
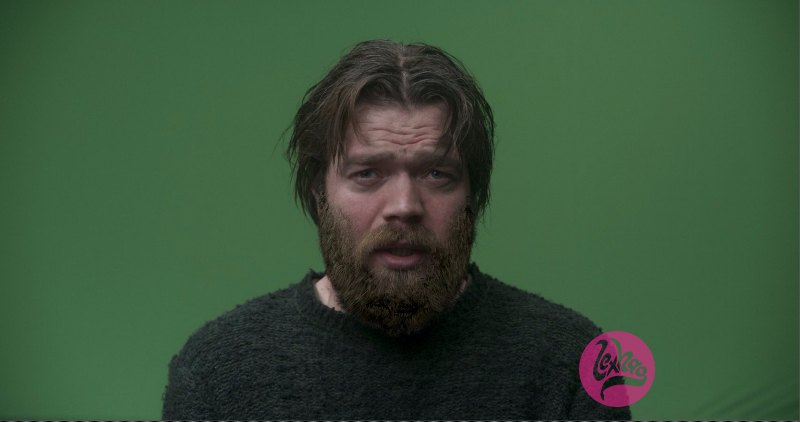
Next, we used modifiers to add procedural noise and curling to the splines. This is best to do after the sculpting because you can always go back and change the layers and reapply the noise. This adds variation in length and bend across all the individual hairs. The final modifier is the clumping. We did this in two parts: a large clumping pass and a finer clump. This gives the beard a more natural look and gives the hairs a more oily appearance as they form little clumps together.
Shading, Lighting, and Rendering
We used Arnold 5’s new Standard Hair shader using the Melanin as the main driver for the colour of the hair, and the Melanin Randomness to break up the hair so it didn’t look too uniform. It was simply lit with our Look Development lighting rig for a turntable of the beard. Using Arnold’s new hair shader was incredibly quick to get a realistic look for the beard, and with a nice groom produces a good photorealistic beard.